The PROCESS of CREATING a BATIK ON SILK !
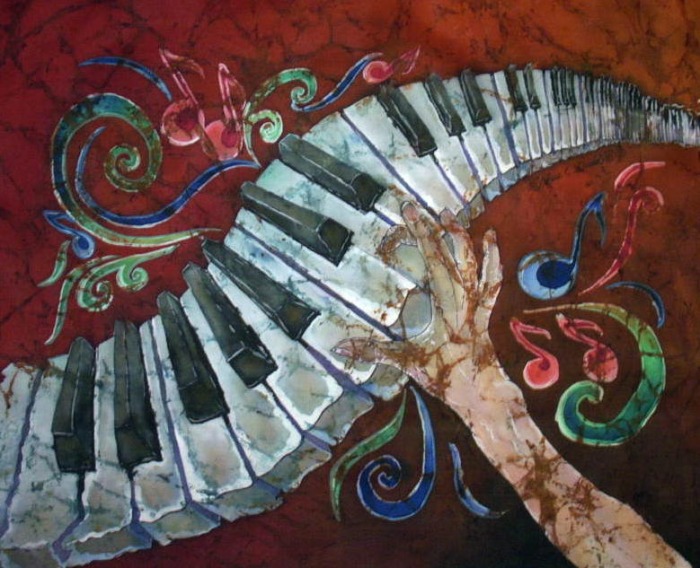
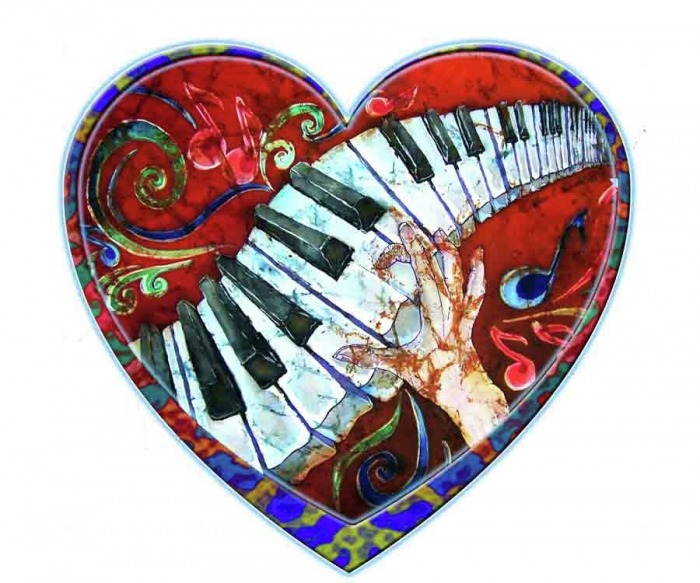
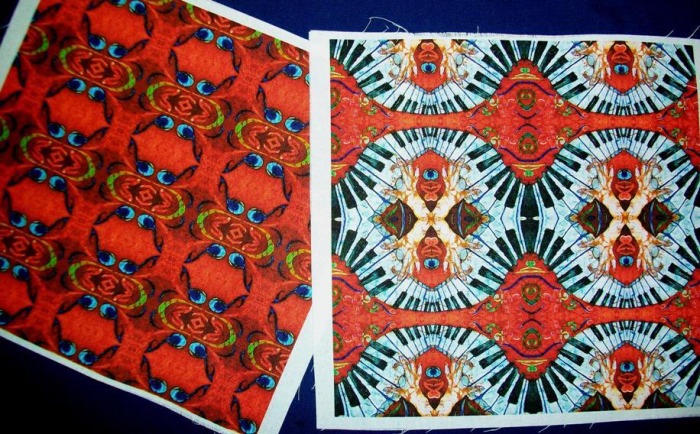
"CRAZY FINGERS" - Piano Batik on Silk
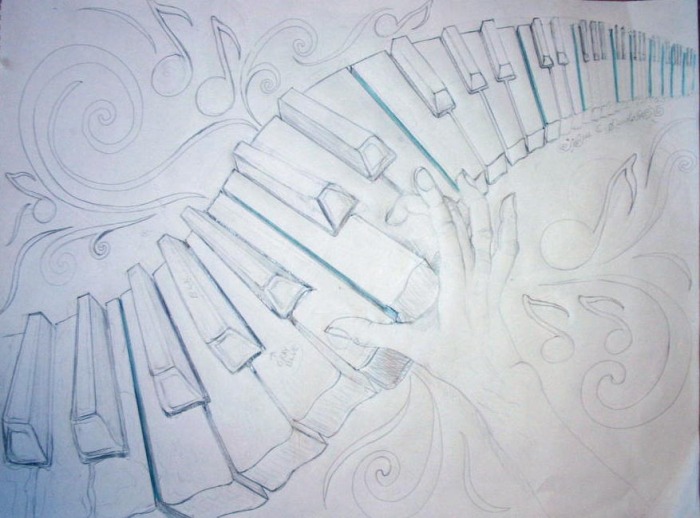
1 ~ Putting my idea on PAPER , I first DRAW the design using a pencil.
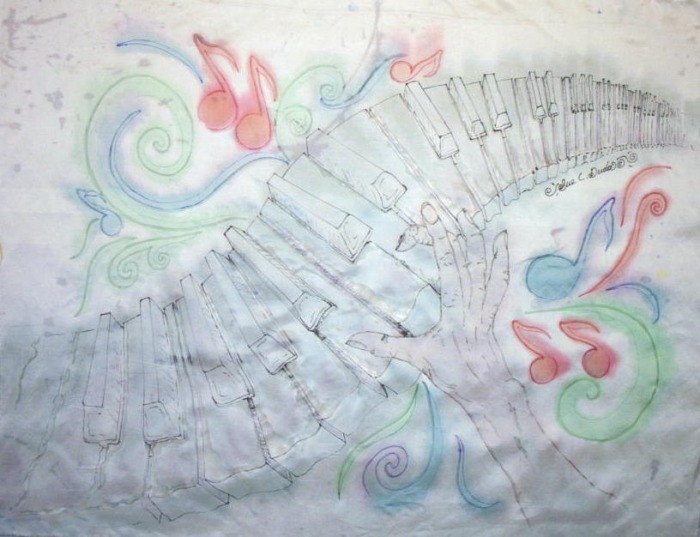
2 ~ With white Silk Habotai Fabric over the paper, I trace the design onto the silk with a VERY FINE FABRIC MARKER. HOT WAX is painted where I want to retain white areas.
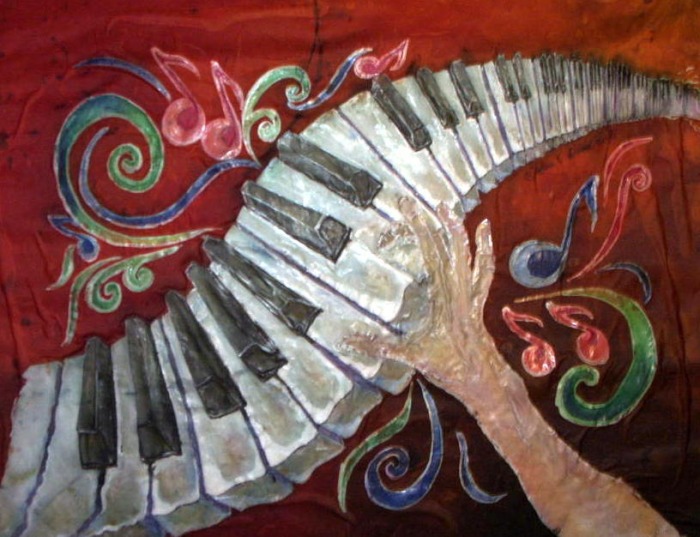
3 ~ PERMANENT FABRIC DYES are painted onto the white silk, starting with light colors. Any colored area that I want to retain will be painted with hot wax.
This is called a WAX RESIST PROCESS. Dyes cannot penetrate through the waxed areas.
4 ~ Most of my batiks require 10-15 layers of WAX and DYES. I start with light shades of the colors I'm using and continue with darker shades throughout the process.
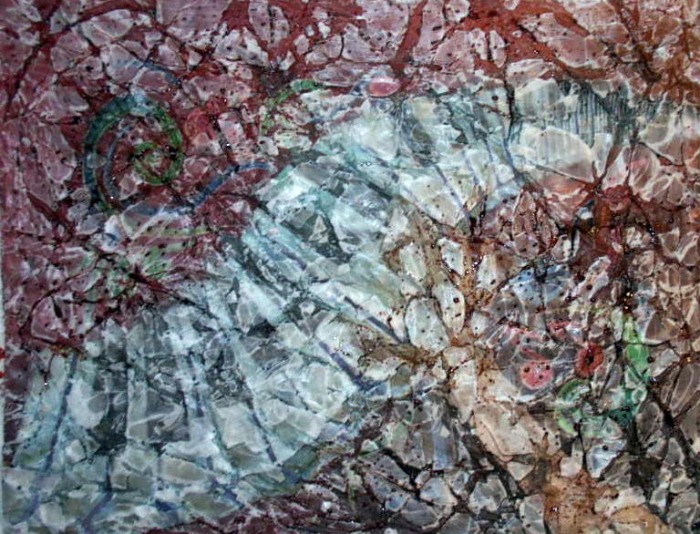
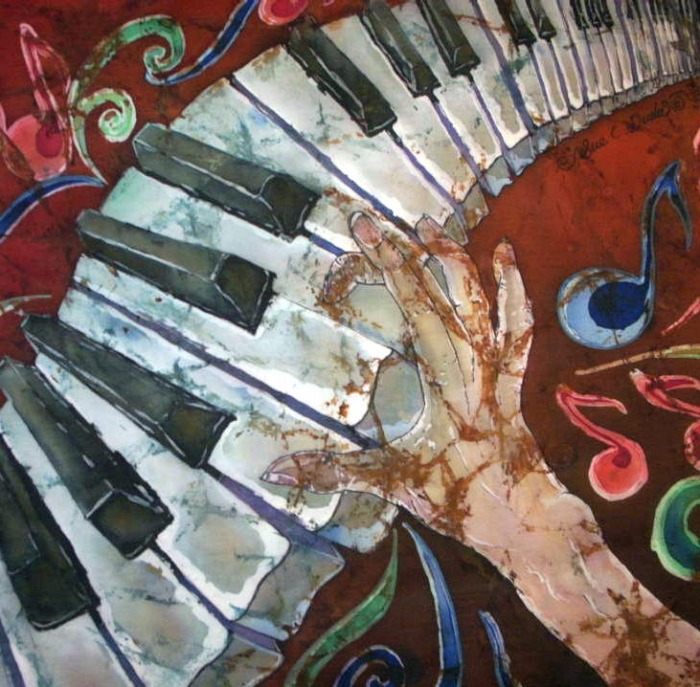
5 ~ The last layer of wax is painted over the entire piece of silk, creating a stiff sheet of waxed fabric. Now the silk is crumpled up in a ball or folded, creating cracks in the wax.
The last layer of dye is applied so that it soaks into the cracks.
6 ~ The batik is allowed to dry prior to removing the wax. The batik is ironed as heat helps to make the dyes more permanent. I take delight in ironing as it exposes the
wonderful crackled effect that this technique offers. It's so very characteristic of batiks and truely makes them a "one and only"! Ironing also exposes the vivid color!
After ironing, I wait 48 hours before a fixative is applied, to make the dyes as permanent as possible.
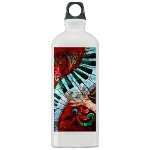
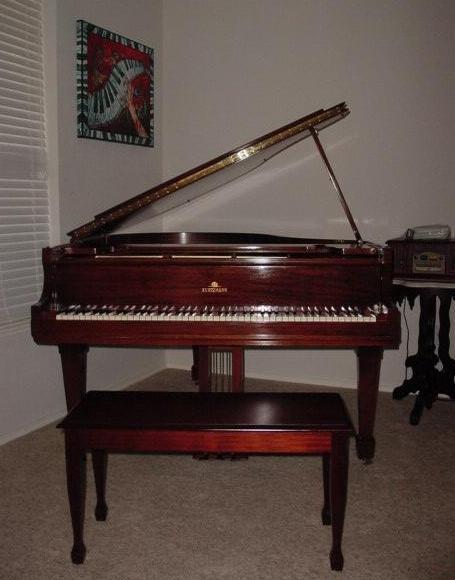
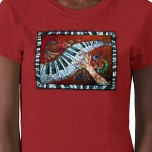
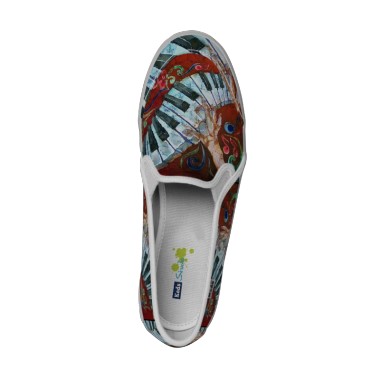
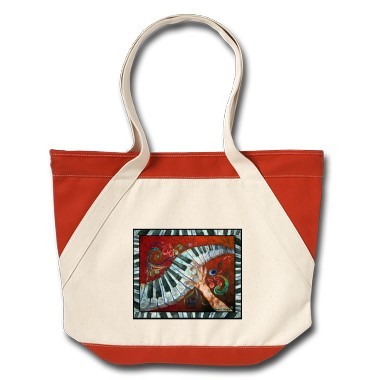
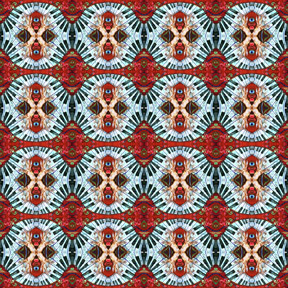
7 ~Preparing a photographic image of the batik art enables me to offer my designs on products such as water bottles canvas giclees, t-shirts shoes, tote bags and hundreds
of products. By creating exciting REPEAT PATTERNS from my batiks, I can offer my designs for use on textiles, flooring, wallpaper, tableware, scrapbooking supplies, and
apparel, home décor products, coasters, giftwrap, gift bags and more!
My REPEAT PATTERNS are called TranZitionZ by SuZe and are available for licensing on products!
2 ~ With white Silk Habotai Fabric over the paper, I trace the design onto the silk with a VERY FINE FABRIC MARKER. HOT WAX is painted where I want to retain white areas.
3 ~ PERMANENT FABRIC DYES are painted onto the white silk, starting with light colors. Any colored area that I want to retain will be painted with hot wax.
This is called a WAX RESIST PROCESS. Dyes cannot penetrate through the waxed areas.
4 ~ Most of my batiks require 10-15 layers of WAX and DYES. I start with light shades of the colors I'm using and continue with darker shades throughout the process.
5 ~ The last layer of wax is painted over the entire piece of silk, creating a stiff sheet of waxed fabric. Now the silk is crumpled up in a ball or folded, creating cracks in the wax.
The last layer of dye is applied so that it soaks into the cracks.
6 ~ The batik is allowed to dry prior to removing the wax. The batik is ironed as heat helps to make the dyes more permanent. I take delight in ironing as it exposes the
wonderful crackled effect that this technique offers. It's so very characteristic of batiks and truely makes them a "one and only"! Ironing also exposes the vivid color!
After ironing, I wait 48 hours before a fixative is applied, to make the dyes as permanent as possible.
7 ~Preparing a photographic image of the batik art enables me to offer my designs on products such as water bottles canvas giclees, t-shirts shoes, tote bags and hundreds
of products. By creating exciting REPEAT PATTERNS from my batiks, I can offer my designs for use on textiles, flooring, wallpaper, tableware, scrapbooking supplies, and
apparel, home décor products, coasters, giftwrap, gift bags and more!
My REPEAT PATTERNS are called TranZitionZ by SuZe and are available for licensing on products!